Making a Server
Notes
I get bored easily, and my usual solution is to start a project (finishing the project is another thing entirely) and for whatever reason, YouTube has been showing me homelab videos for the last six or nine months, which is right up my alley: It’s a mixture of something I am:
- Familiar with / good at (computers)
- Unfamiliar with / bad at (servers)
- Interested in (prospect of remote dev env / divesting from clouds I do not own)
There are several homelabbing YouTubers, but I’ve found Hardware Haven to be right in line with my level of understanding. He often does videos on the cheaper side of things, which I appreciate, as I have a newborn and would like to minimize costs wherever possible.
Use Cases and Hardware
There are three reasons I want to start a homelab. As user stories, they are:
- As a product designer LARPing as a dev, I want to vibe code with Cursor in a secure (non-work) environment so I can eliminate any security concerns.
- As a privacy-centered individual, I want to run and maintain my own cloud so I can avoid using Google Drive.
- As a fledgling Linux enthusiast, I want to install and manage a server so I can better understand how that side of things work.
Thankfully, the first two use cases require very little in the way of compute / storage. There’s been a resurgence in interest regarding mini PCs (those thin-client-esque machines you find in offices / enterprise environments), so while they are abundant online, the prices are certainly higher than they were years ago. I was able to snag an HP EliteDesk 800 G3 refurb off Amazon for about $90, and while I would have preferred more cores, it’s good for a proof of concept. Came with a mouse and keyboard, too.
 Listing on Amazon — price as of May 25, 2025
Teardown
I intended on tearing it down to clean and inspect, but the seller beat me to it. I expected at least some dust, but even the fan blades were spotless. Mark the two wires labeled 1 and 2: Those are the conenctors for the optional a WiFi card (see below).
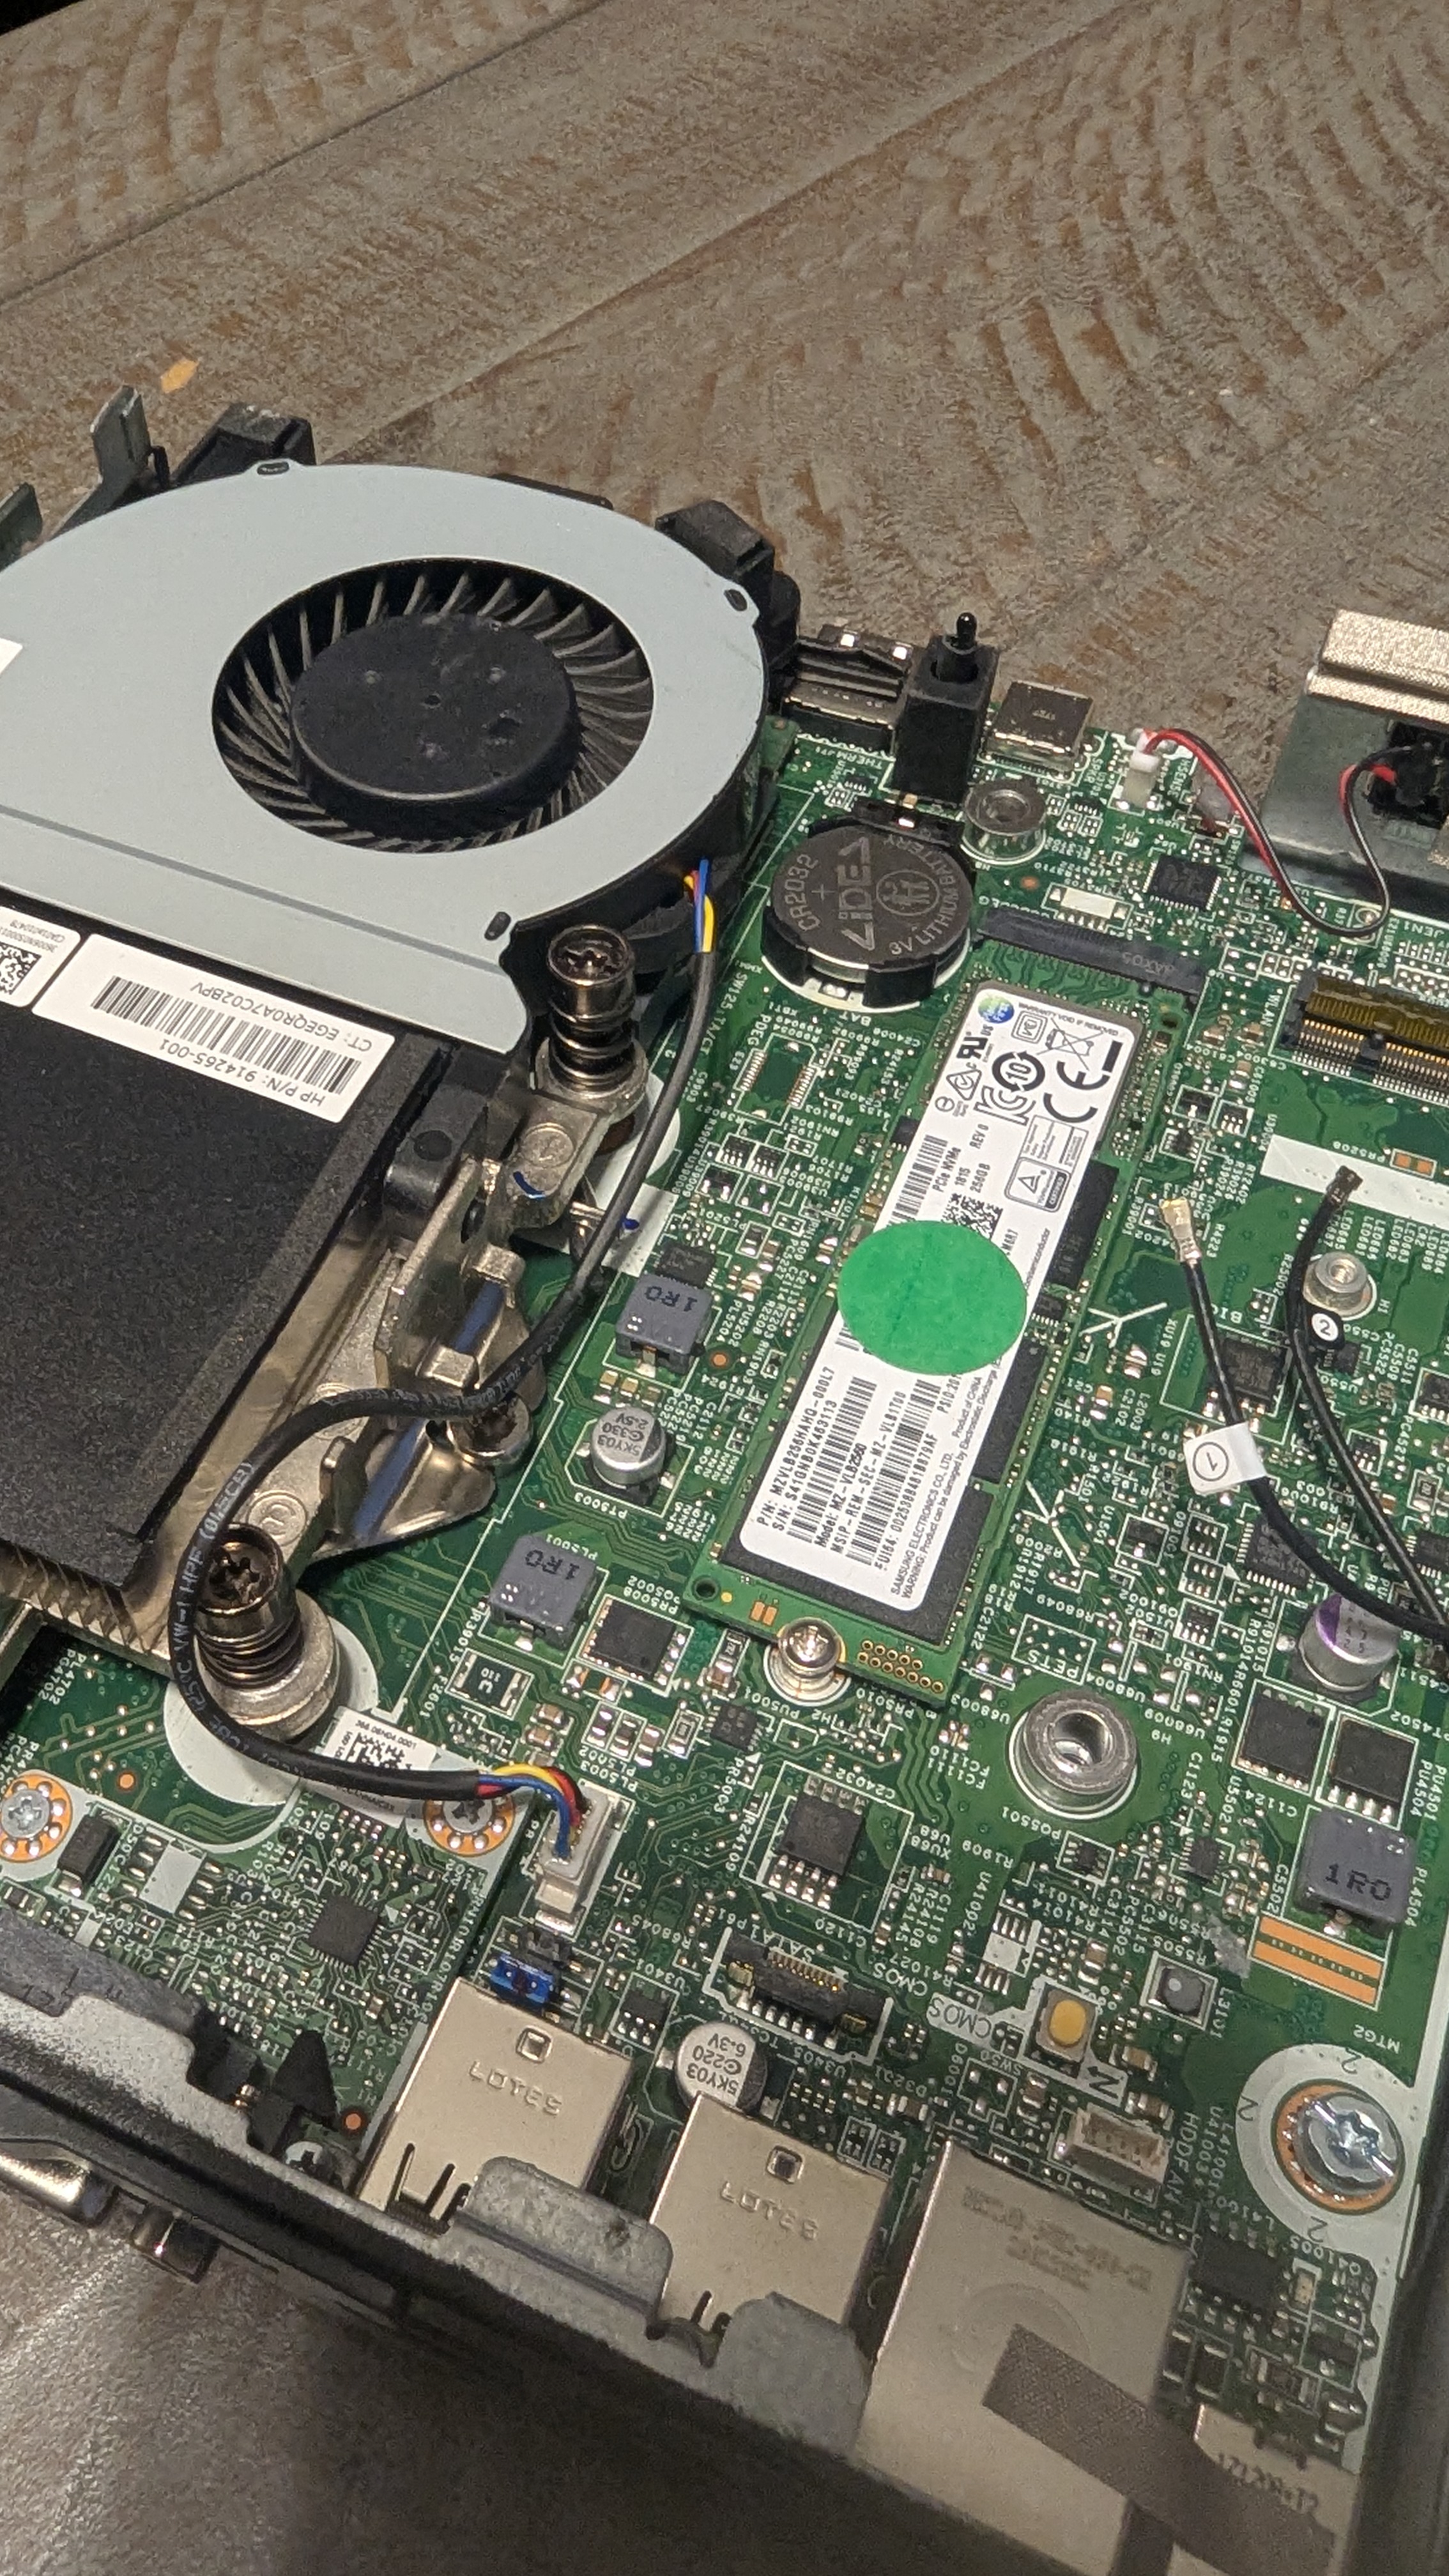 HPED with the case open
The RAM sticks live under the fan, which is mercifully easy to lift up and move away. 16GB should work for now, until I can see how it performs. If it was dirty on the inside, I would have removed the heatsink to clean the CPU and apply fresh thermal paste, but since it was in such a fine state, I decided to leave it and see how warm it gets under load.
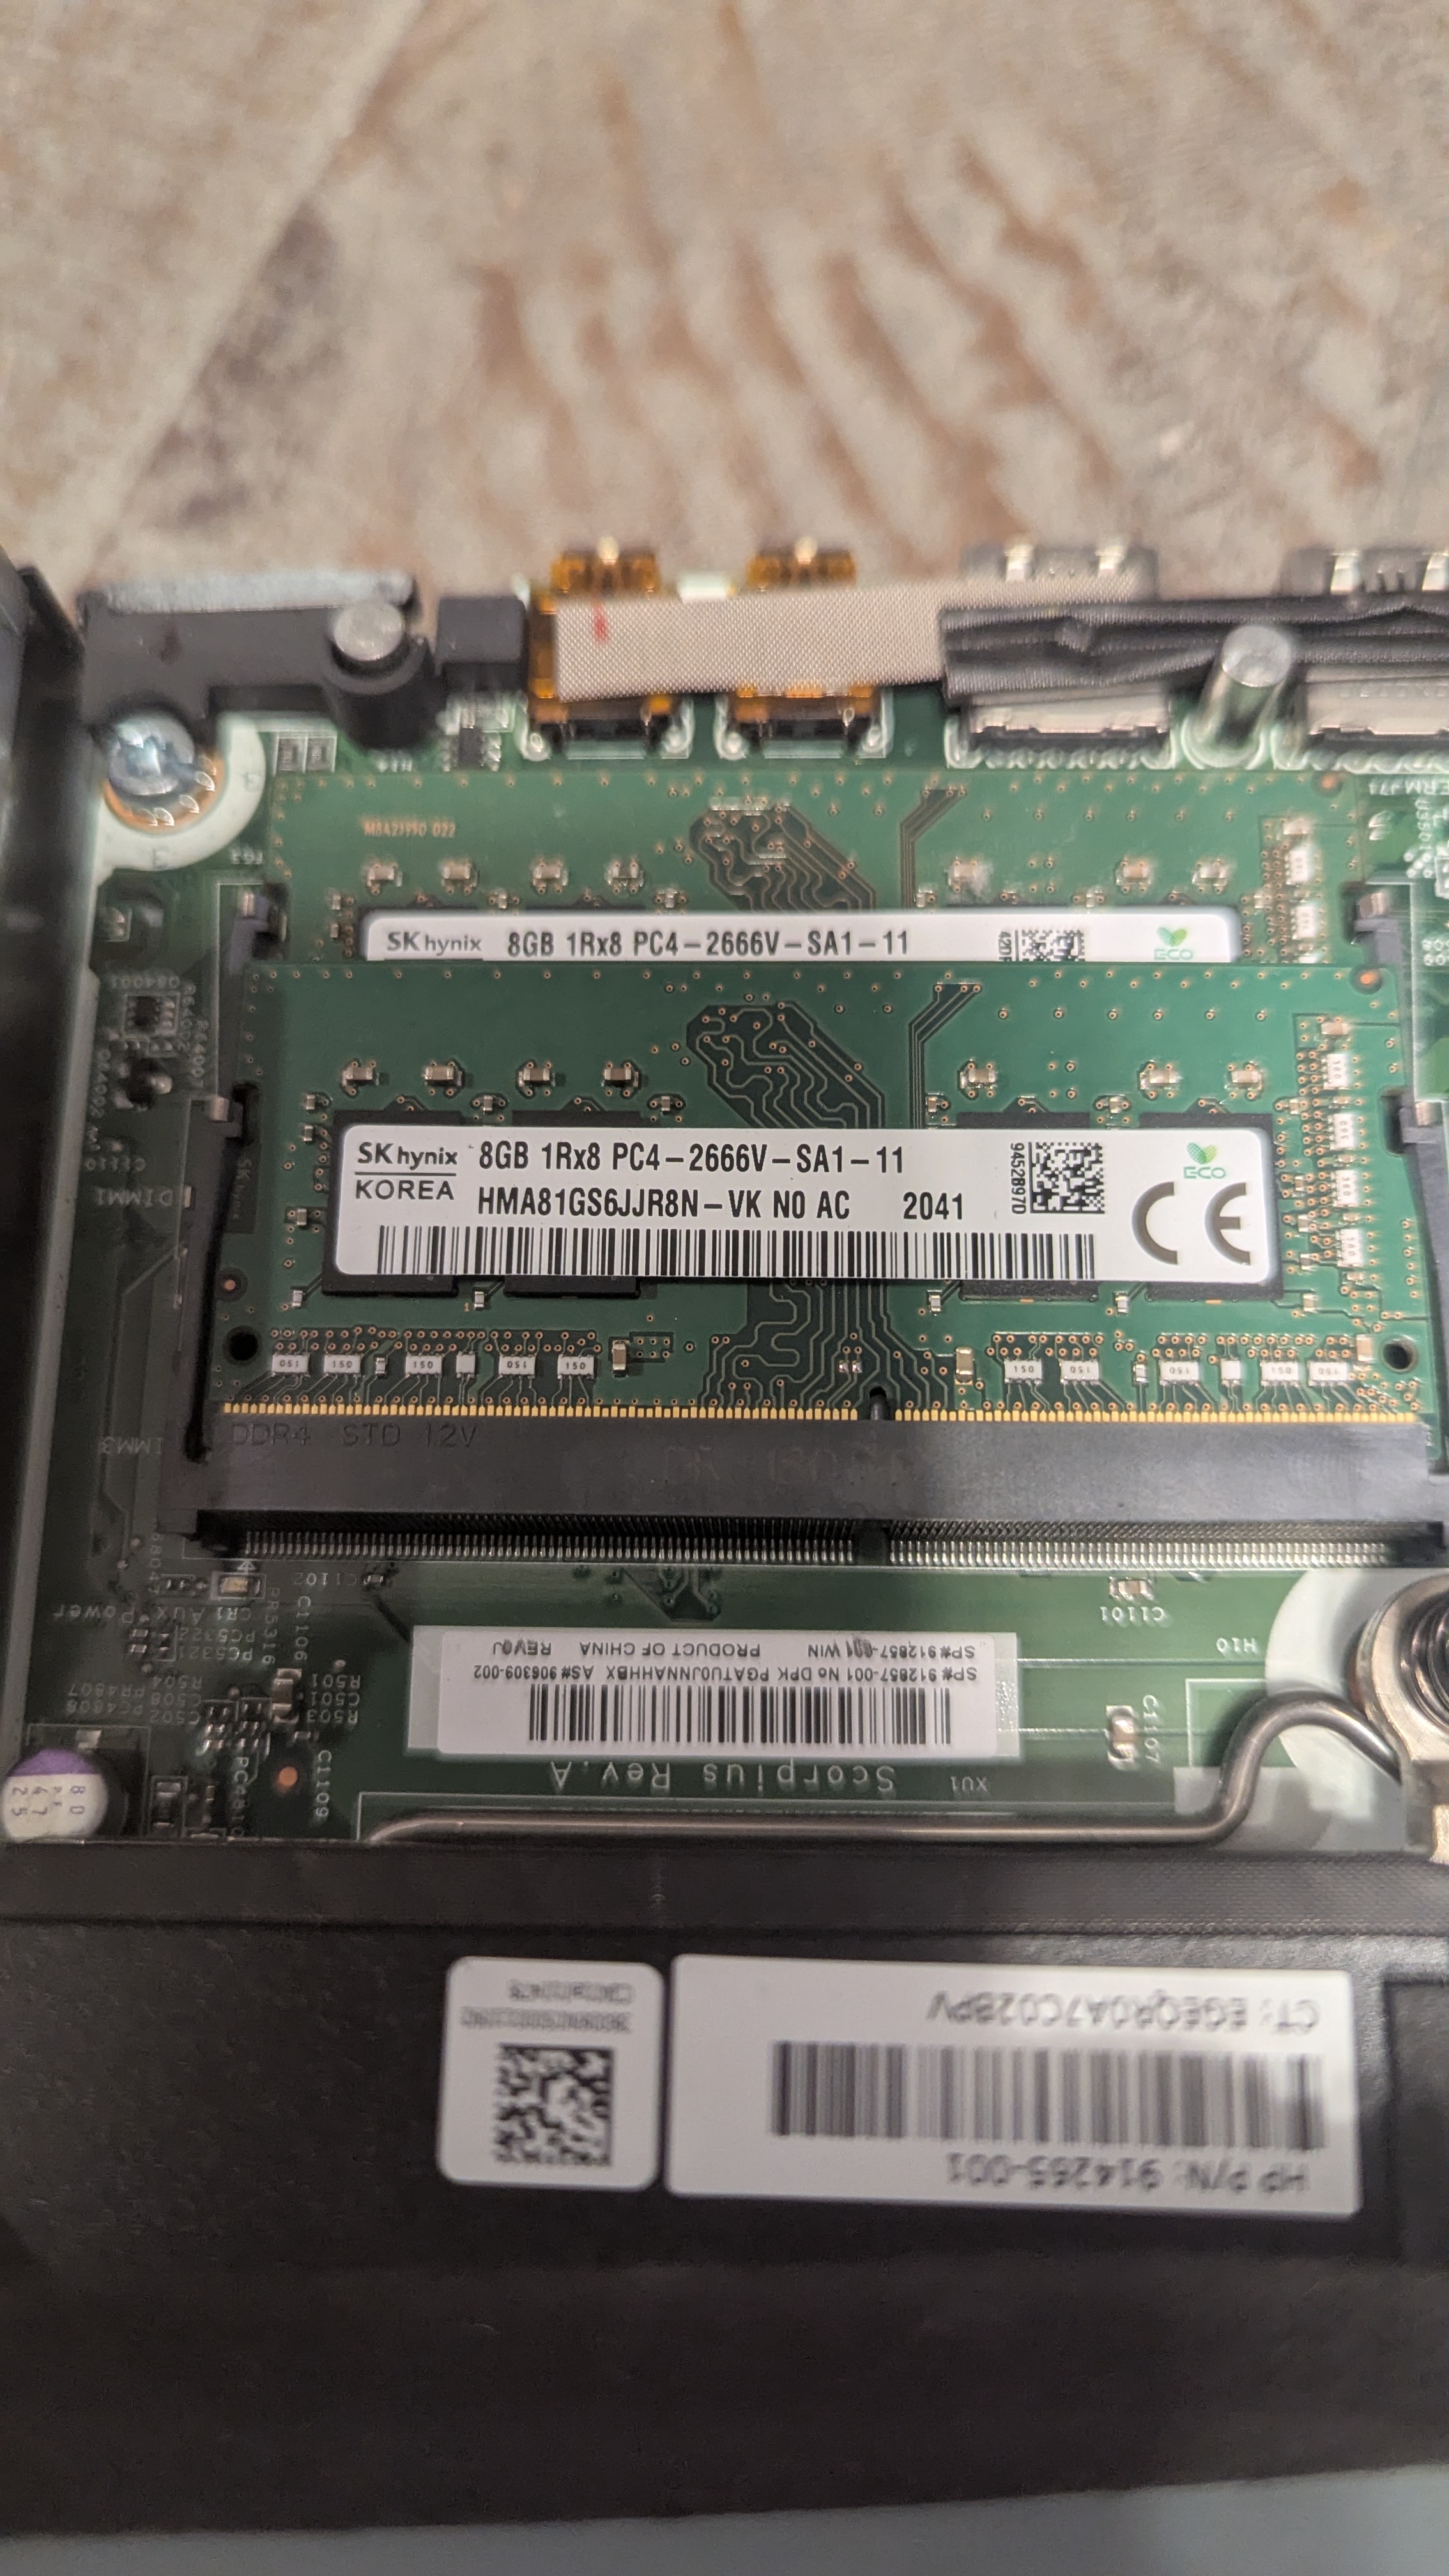 2 × 8GB sticks of RAM
One thing about the computer that struck me on first handling it was how solid it felt. The case is almost all metal, so it’s sturdy and has a good weight to it. The only plastic is on the front panel, which was in great condition.
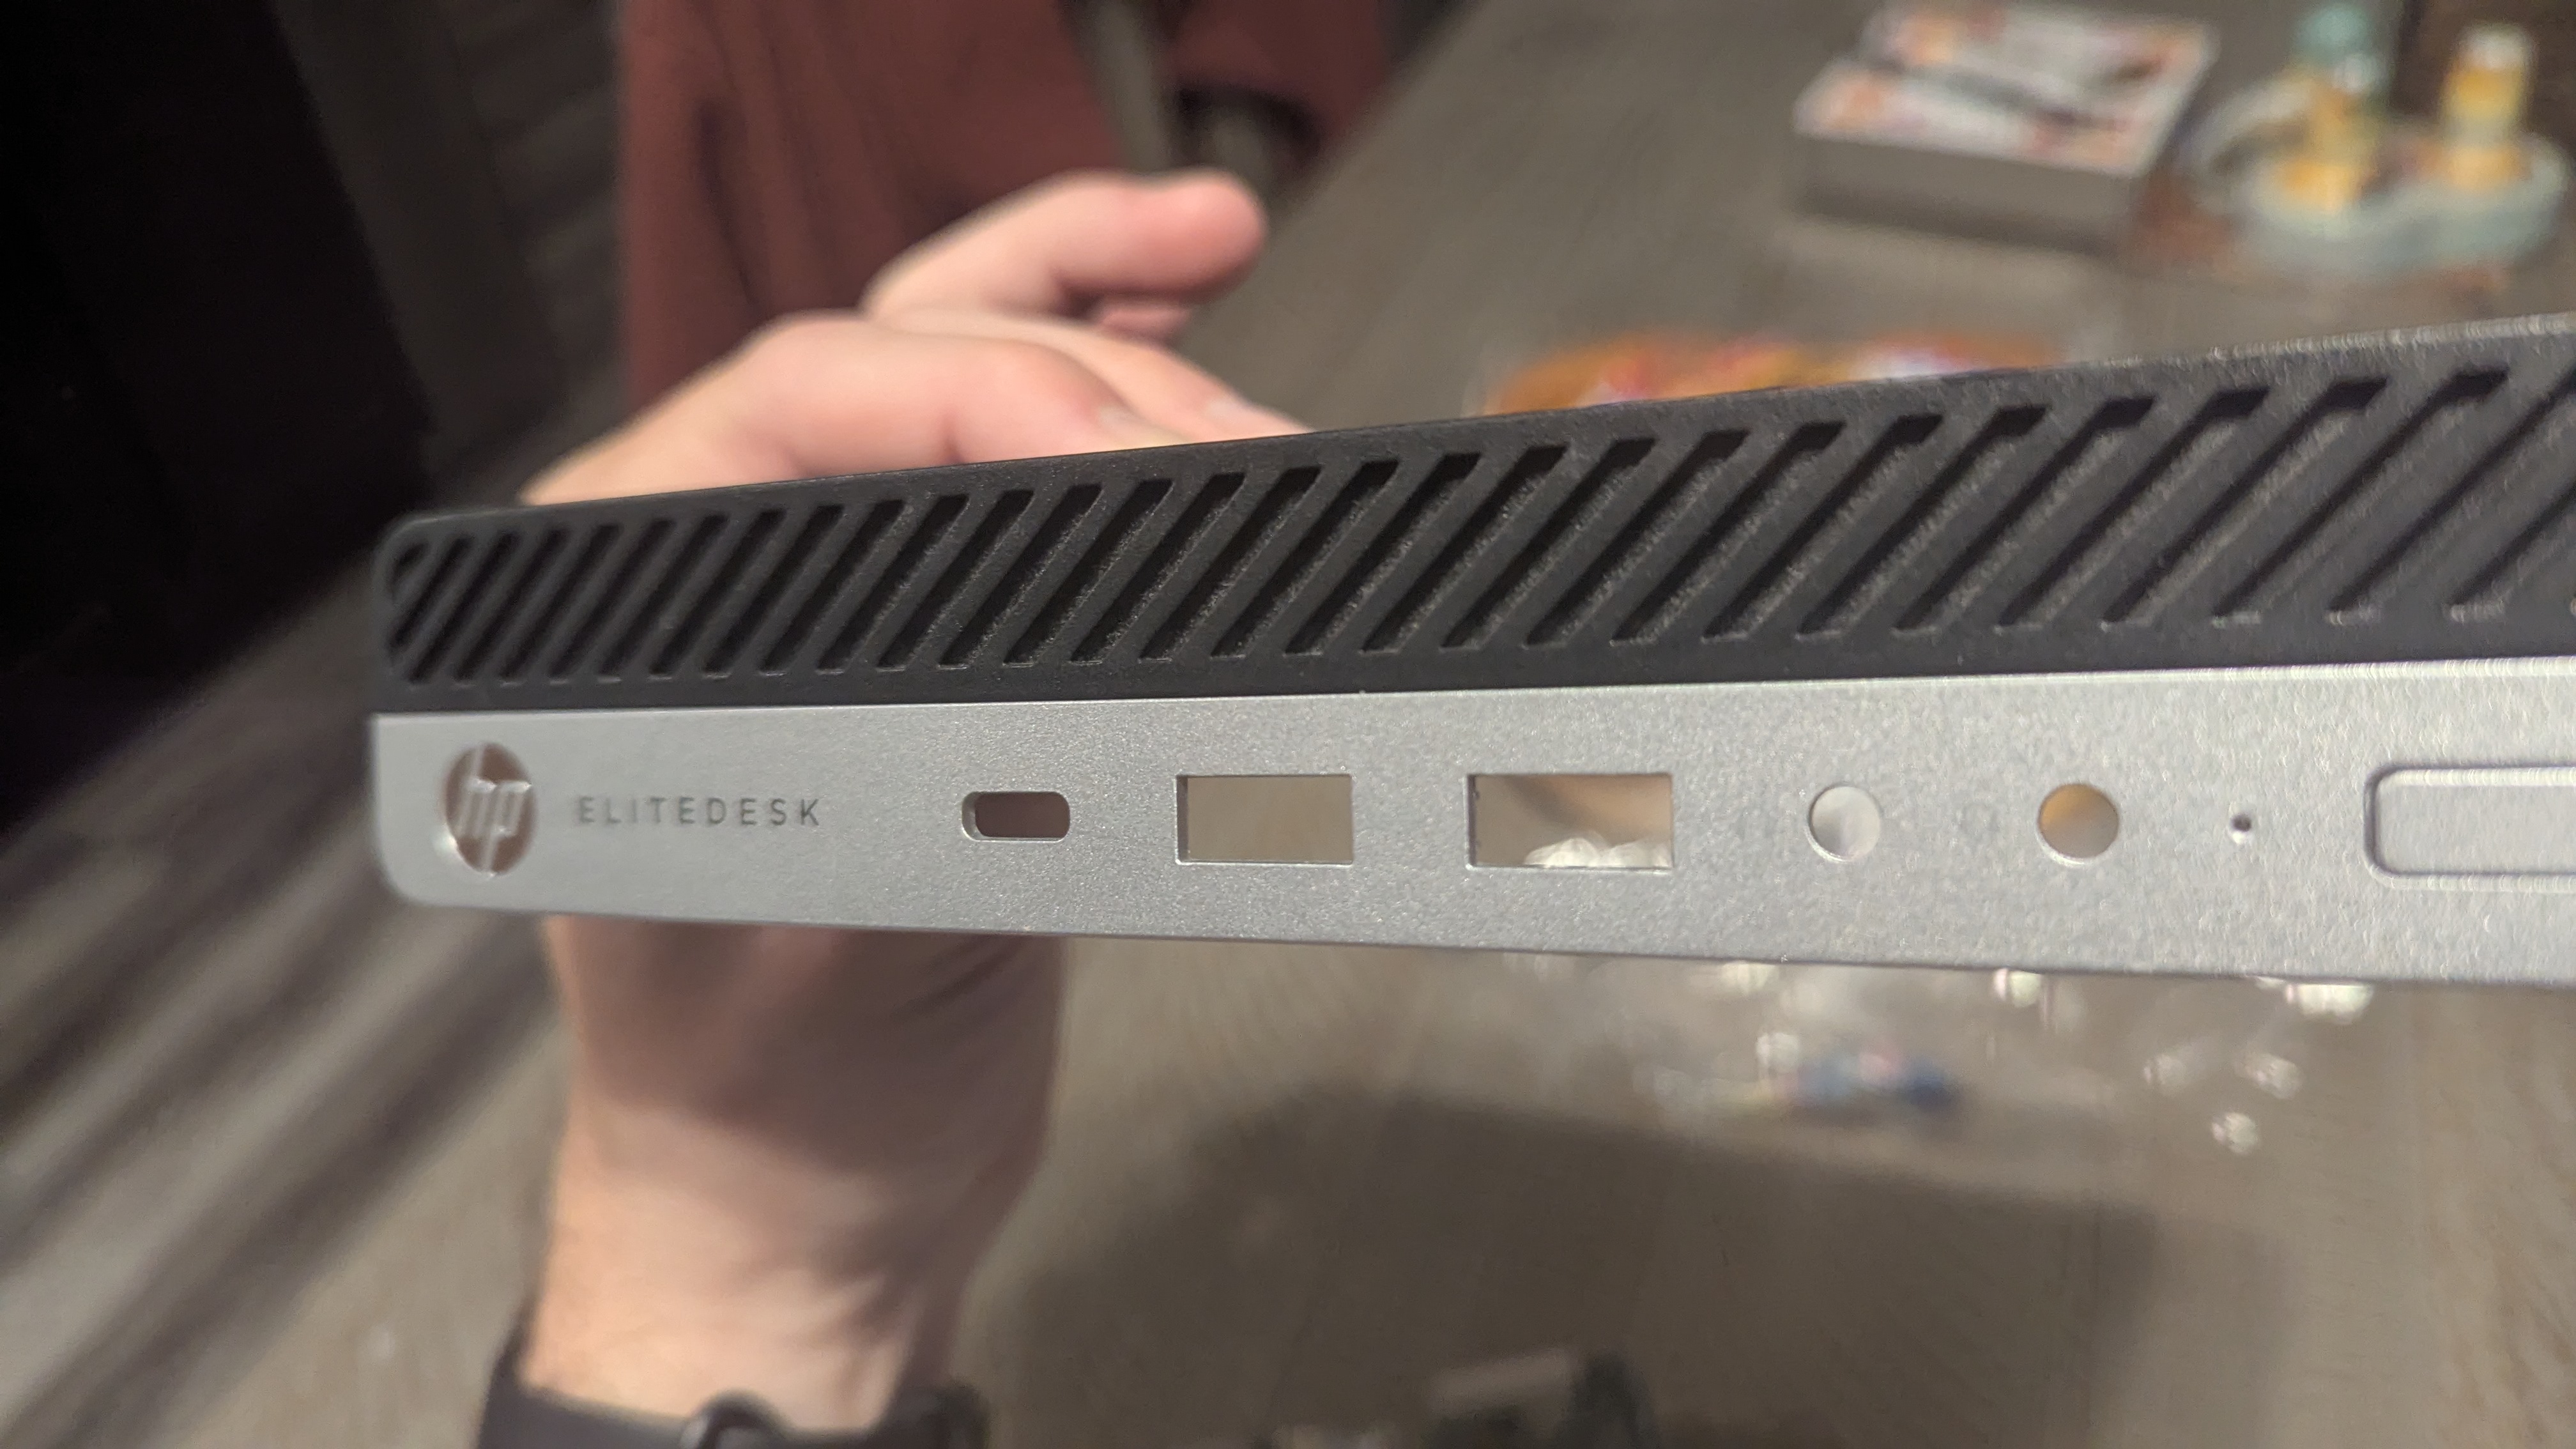 Look at the front panel
The rear I/O panel has a single slot () that was populated with a VGA card. Makes since as this was likely someone’s work computer, and enterprise / business setups don’t always have the latest monitor tech.
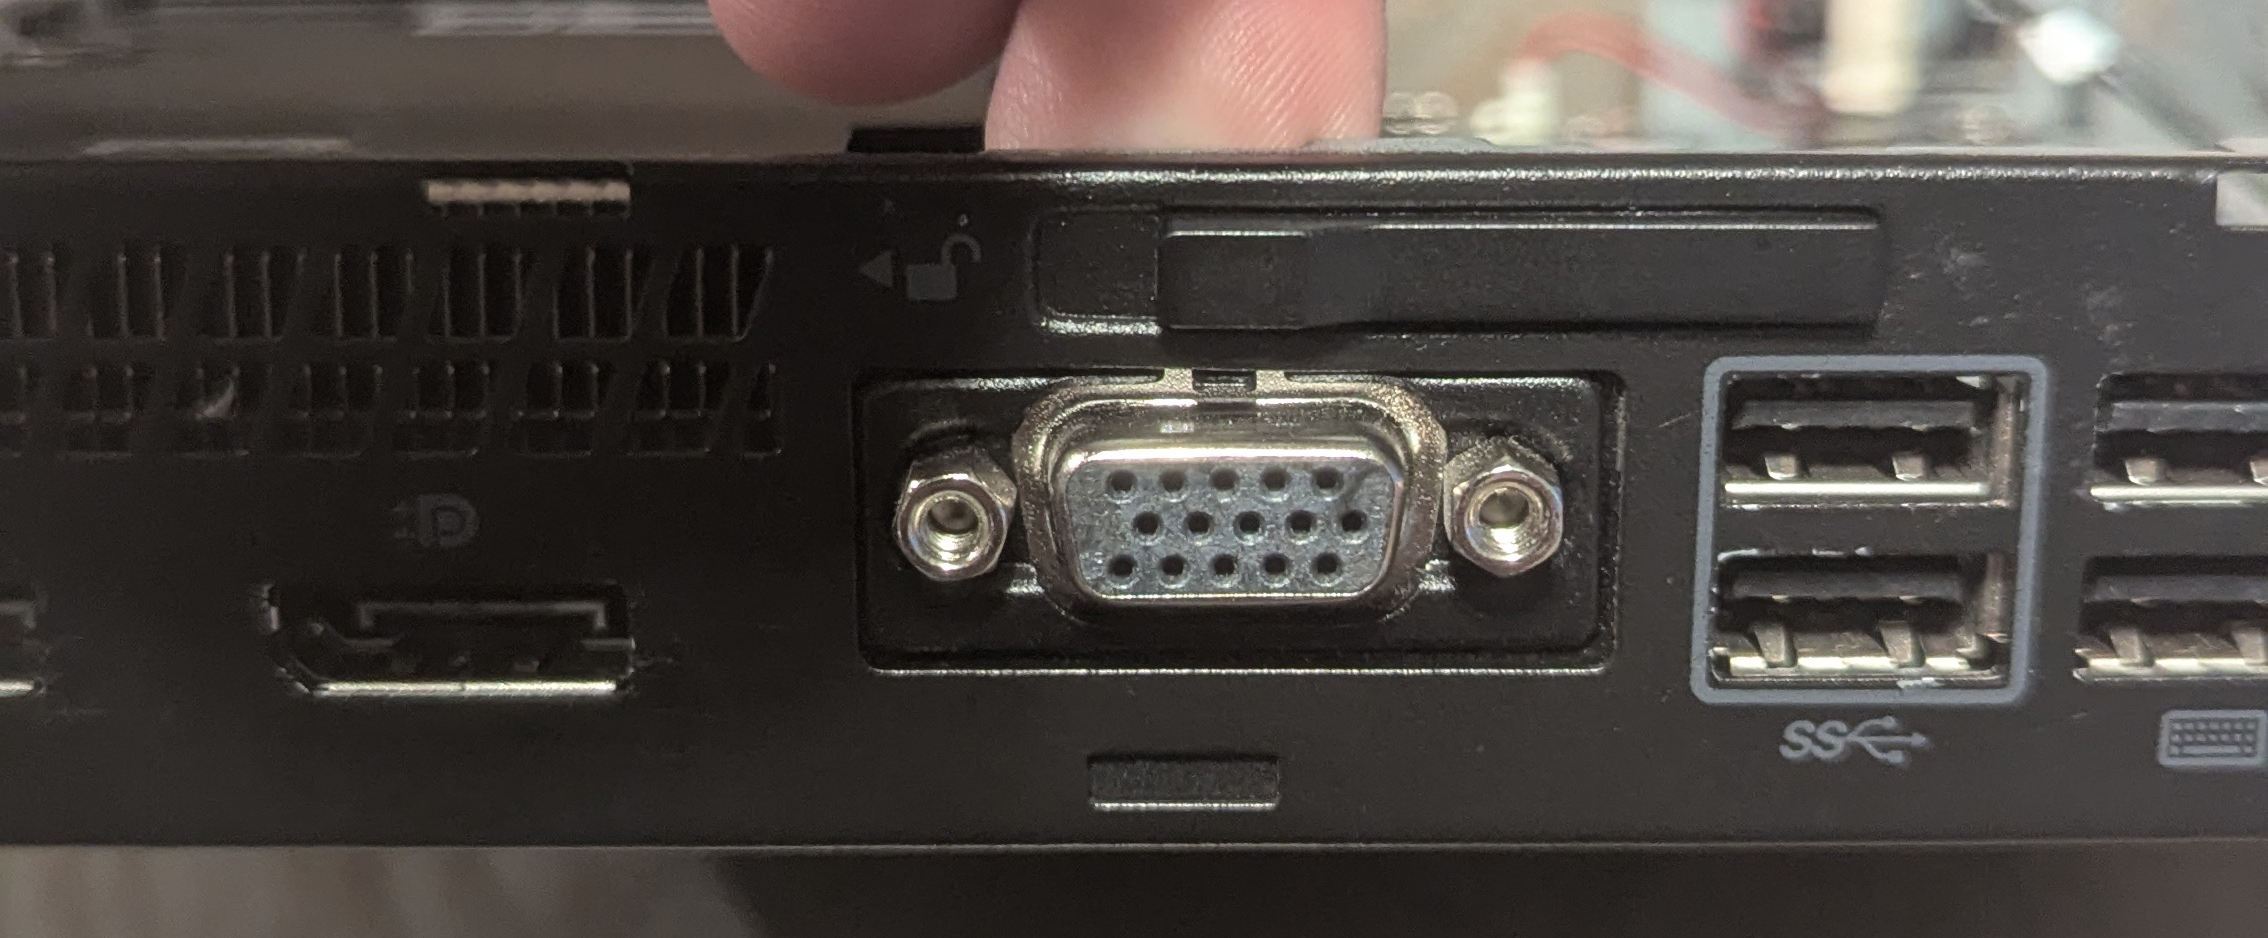 Look at the rear panel. Note the VGA connection
I would have preferred a WiFi adapter, but I was able to get one from Micro Center for $20. The guy I had show me the WiFi adapters said he didn’t know if it worked with Ubuntu, and Windows was the only OS listed on the product itself, but it worked flawlessly and immediately right out of the box.
 USB WiFi apapter from Micro Center
Setup
Originally, I was going to put Arch on the server, but after conversing with ChatGPT about it, I decided to go Ubuntu. I also considered using Xfce as a DE, but Gnome worked just fine and used an acceptable amount of resources, so I decided against it.
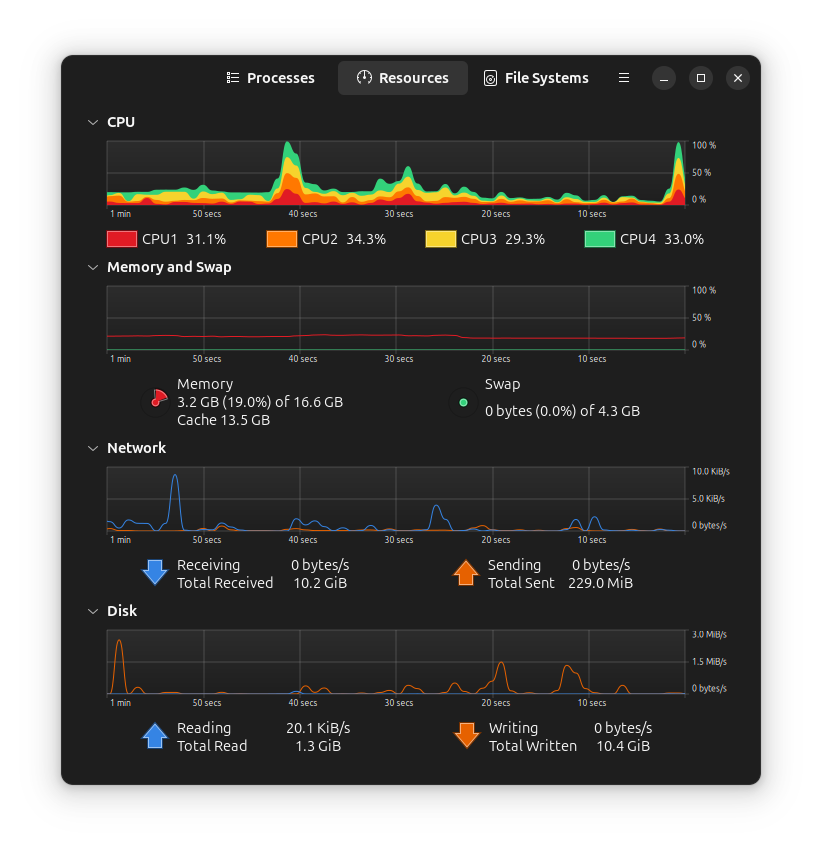 Not too much of a draw on resources
For reference:
| Property | Value |
|---|---|
| CPU | Intel Quad-Core i5-6500T |
| RAM | 16GB DDR4 |
| HDD | 256GB SATA |
I originally started with Nextcloud, but getting it work work was a real pain. I don’t recall what the problem was, exactly, but about an hour in, I realize I was starting to engage in the sunk-cost fallacy, so I switched over to Syncthing.
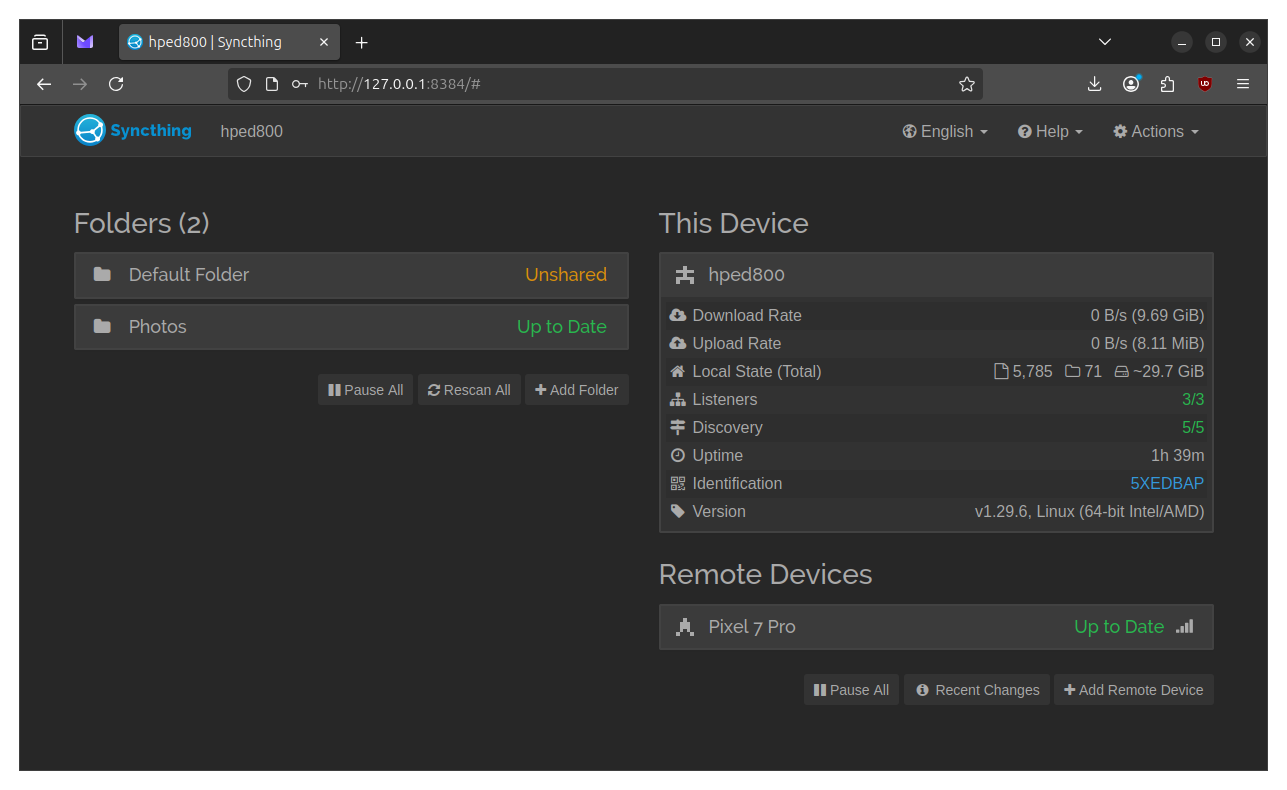 Syncthing on Ubuntu
Syncthing has a noticeably worse UI, but it was a breeze to get set up in comparison to Nextcloud. I had to install the Android fork via F-Droid, and the UI is somehow worse on that experience. I have half a mind to see what I can do about that.
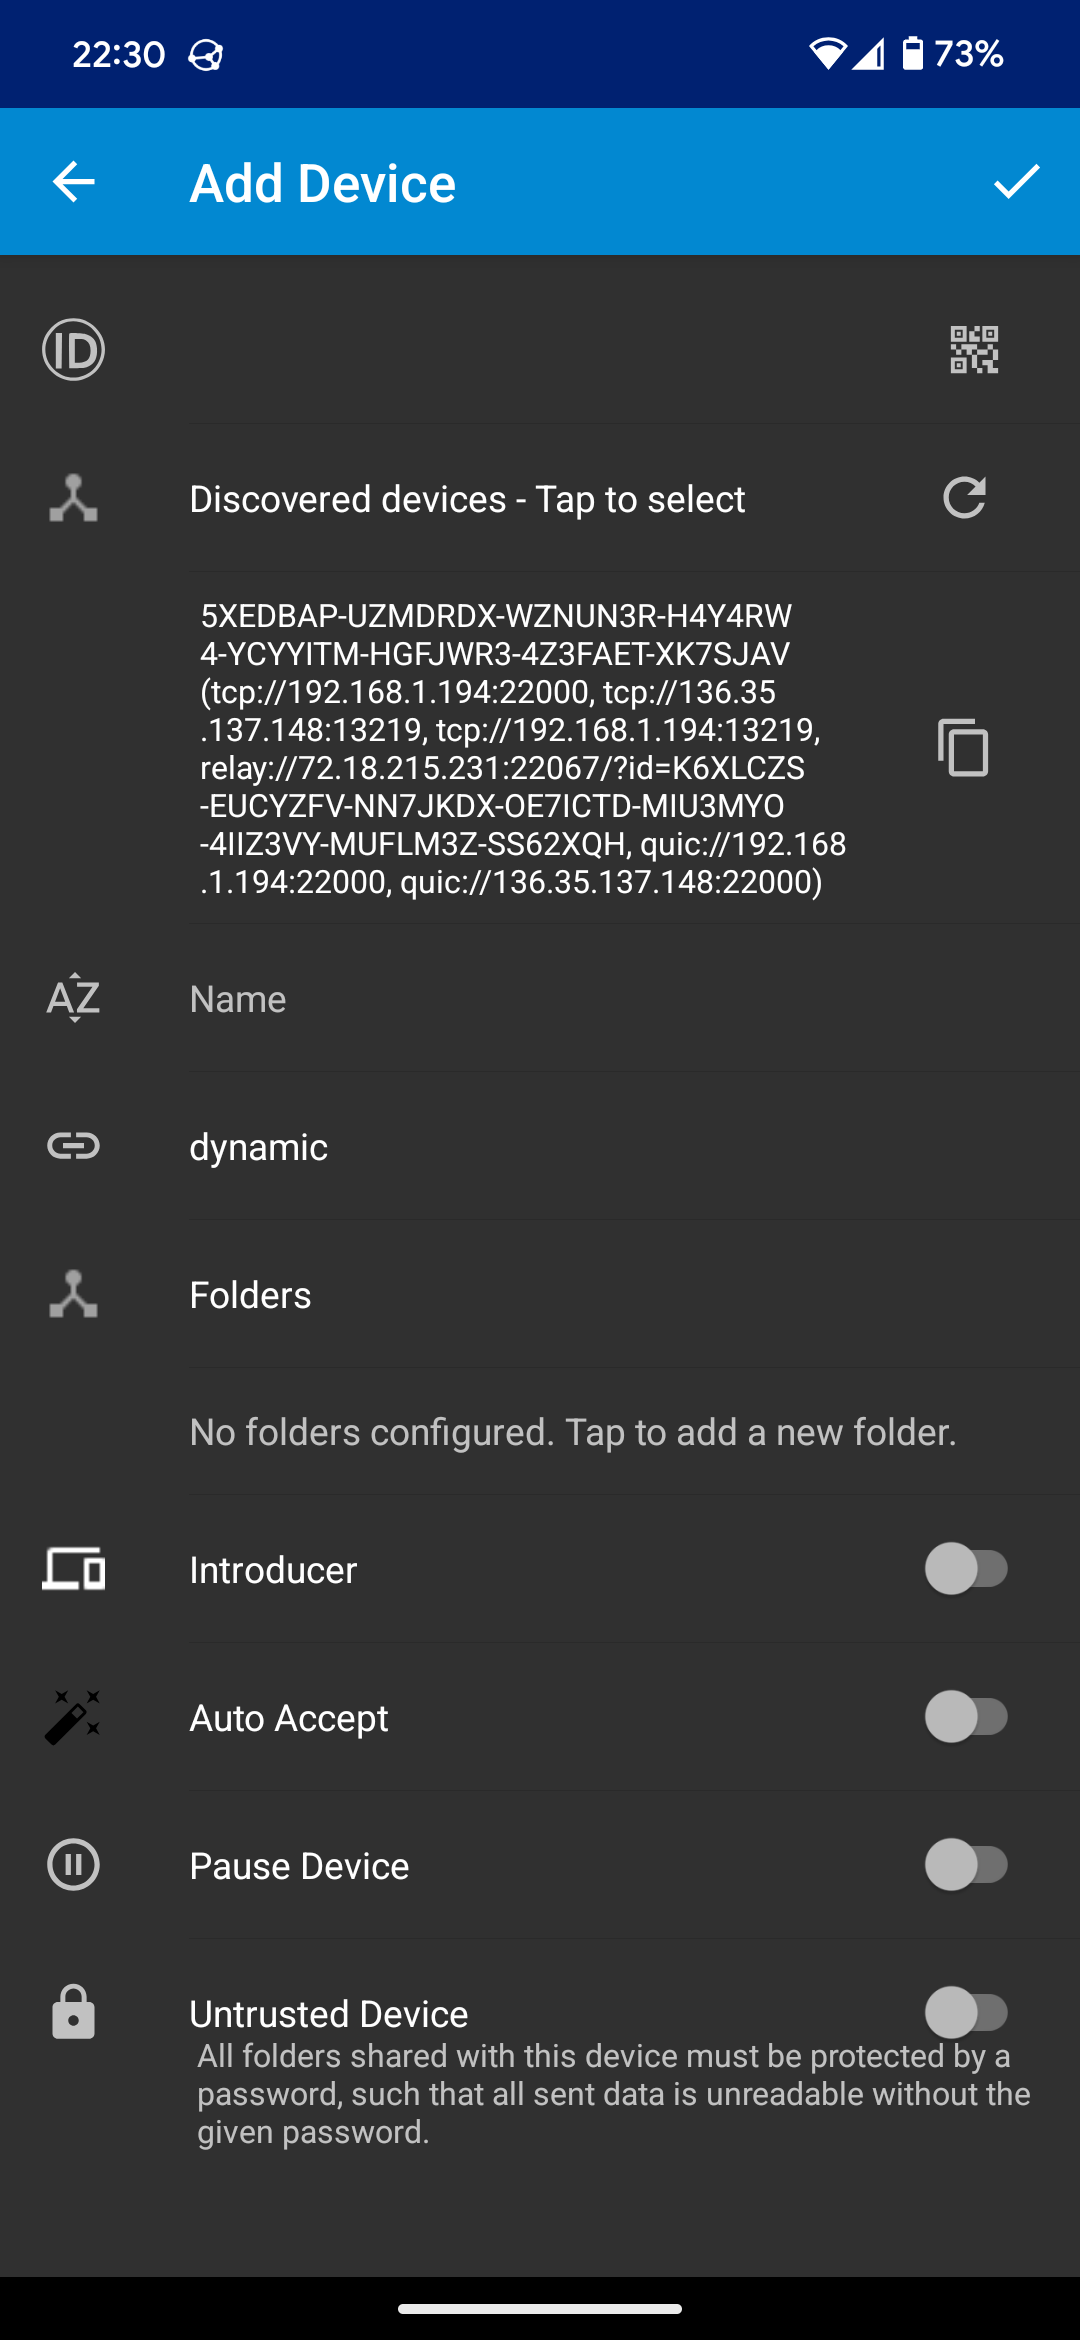 Syncthing fork on Android
Once it was setup, I found rclone, which made downloading the entirety of my Google Drive a cinch. Shame it doesn’t work with Google Photos — though that’s not a knock against rclone; Google locks down access to Photos, so I had to use Google Takeout, which I didn’t know existed. I set it up so that Syncthing watches the DCIM dir on my Pixel, so every time I take a picture, it uploads to both Google Photos and my server. Highly pleased with this setup, as it just works.
Conclusion (For Now)
It’s a small step, but I enjoyed the process (for the most part — I prefer Nextcloud’s UI, but Syncthing works perfectly so far). I don’t need a NAS yet (I don’t stream movies or music), so it will probably be a while before I run out of space on the relatively small NVME drive. I want a DeskPi rack, but only because it looks cool, so that’s more of a solution in search of a problem than anything else. We’ll see how it goes.
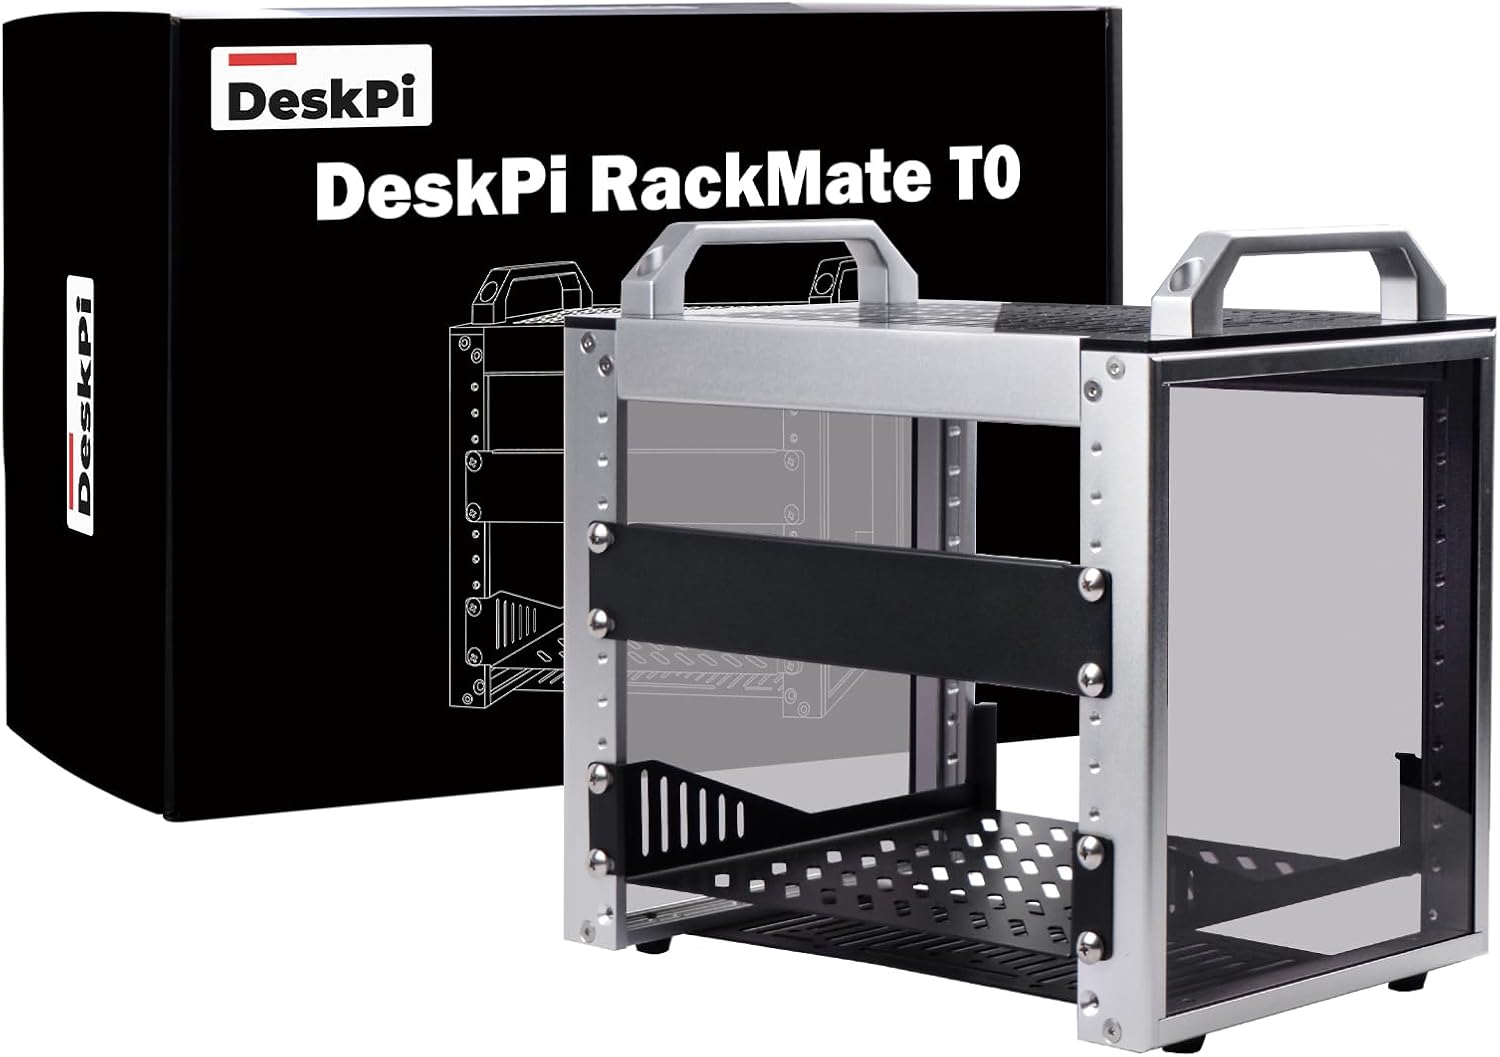 10" DeskPi rack
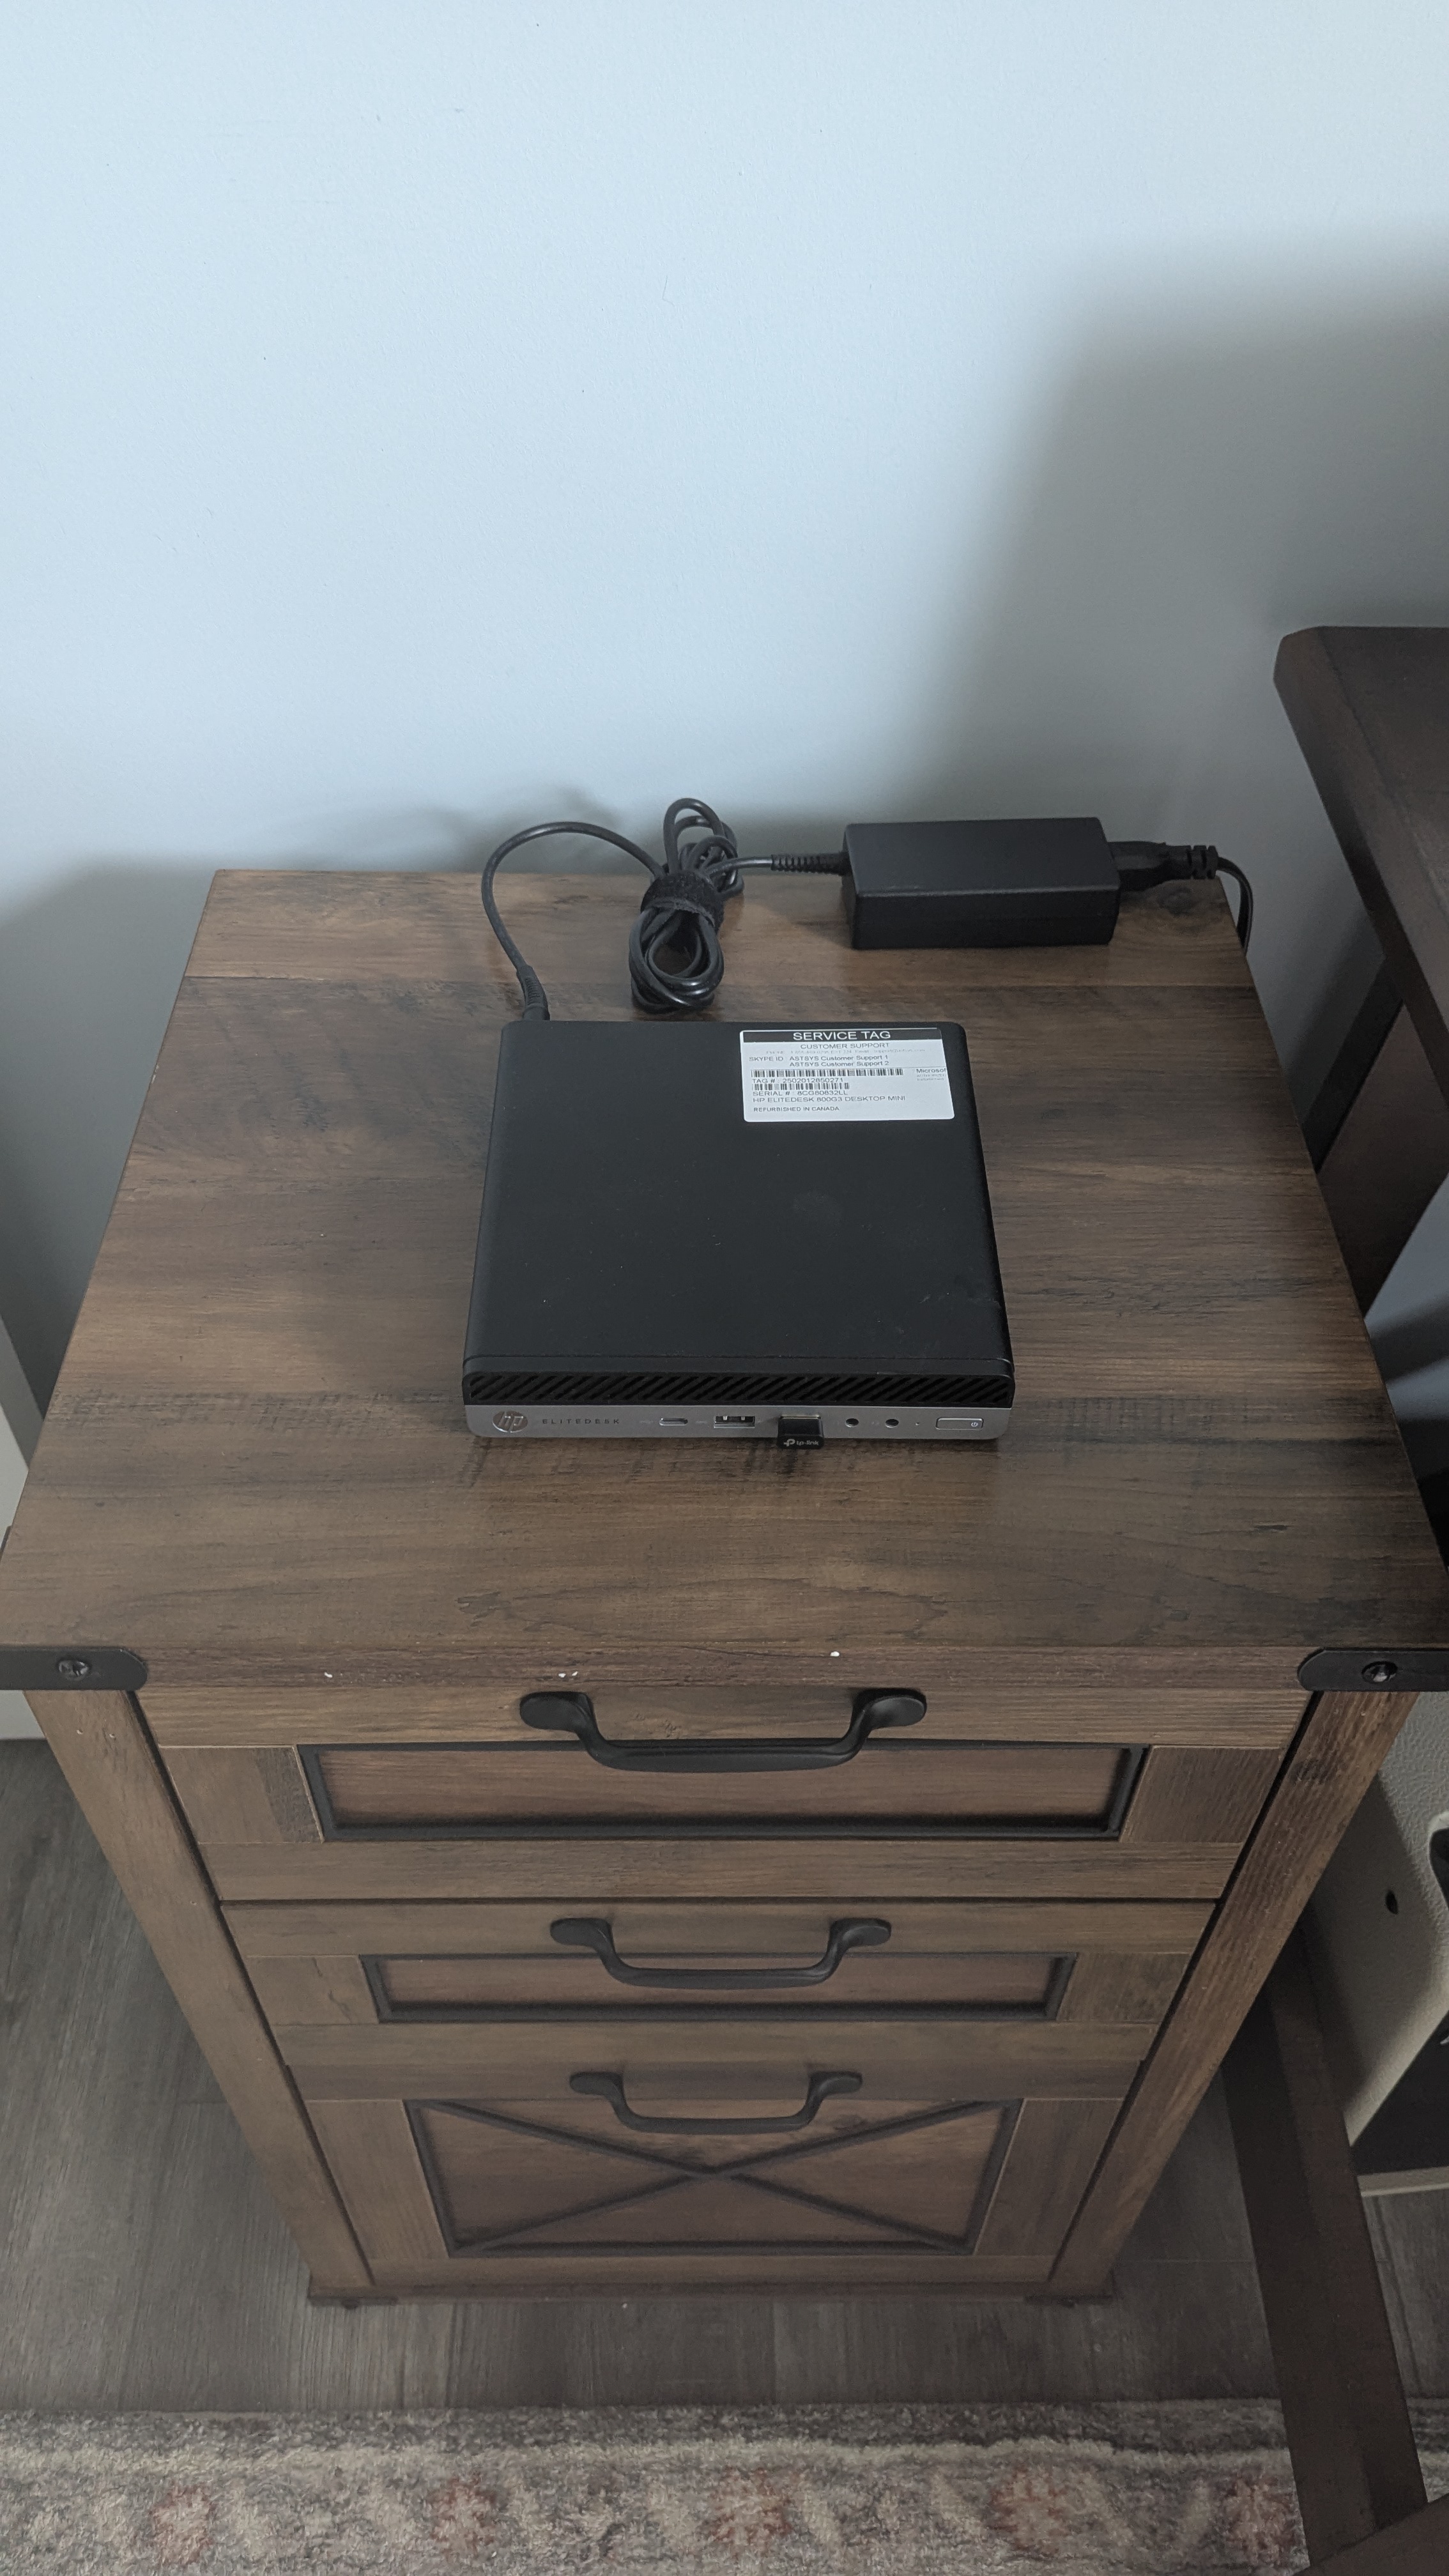 A modest server